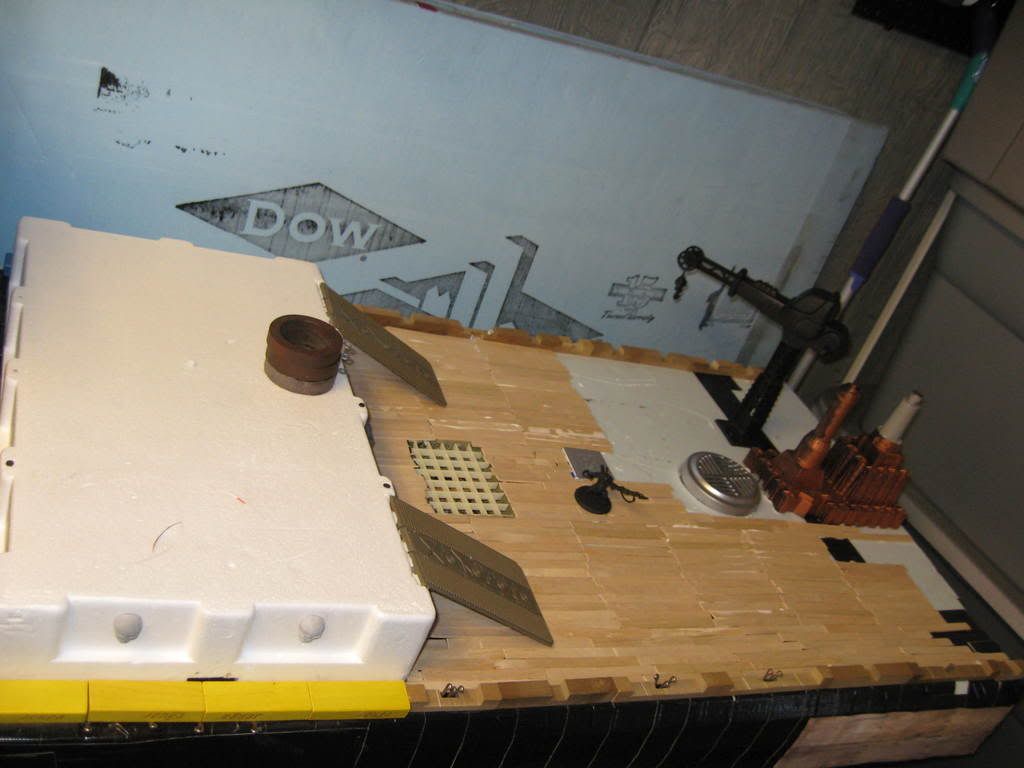
Monkey is doing her dead level best to make sure that the Pirate Ship is finished for the Demo Day on Sunday the 13th. I will be bringing the Pirate Ship along with me to the local gaming store in order to demo WARMACHINE. I will also have my normal demo mats available for HORDES.
Hit List
Showing posts with label BROADSIDES BOARD. Show all posts
7/12/08
7/10/08
BROADSIDES BOARD PIRATE SHIP MAST
I needed to figure out a easy and logical way to represent the main mast for the center of the Pirate Ship's section.
The best way I could come up with was to use wooden dowel rods. I used two Pro Mag magnets. One I glued to the deck and the other to the bottom of the mast.
Then I made the cross piece using another dowel rod and secured it with Fibre Craft 26 Gauge Bright Wire.
It's not the best I've ever seen but it will work!
---
Monkey inspected the mast and approved after a short period of consideration. Apparently her main conern was the height of the masts in relation to the deck.
THE BROADSIDES BOARD QUALITY CONTROL
THE BROADSIDES BOARD
--
I had previously done a lot of work on the ship.
My wife cut out several strips of stiff carboard using a pattern. These were glued to the sides of the ship using a hot glue gun. Tp secure each piece I used between 4-6 straight pins pushed into the sides of the strip to simulate rivets.
This took a long time and was murder on my fingers.
--
I spray painted the entire ship using a flat black. I then used a dull copper metallic spray paint to paint the cardboard strips on the sides. This type of paint dries with texture that makes it look "hammered." This was a feeble attempt to represent armored plating on the sides of the ship.
---
I then focused on painting the deck. I used Apple Barrel Acrylic Paint. It is #20432 Nutmeg Brown. I used a large, inexpensive brush to apply the paint liberally.
---
6/27/08
Thanks Gary!

Gary is definitely my TerrainThrall!
He goes out of his way to help me out in finding cool bits of material for making terrain.
He recently located some good stuff to make a crane for one of the ships, as well as something cool for making some paddle wheels for the ships.
Thanks man, I appreciate it!
6/26/08
BROADSIDES BOARD ... POST #8
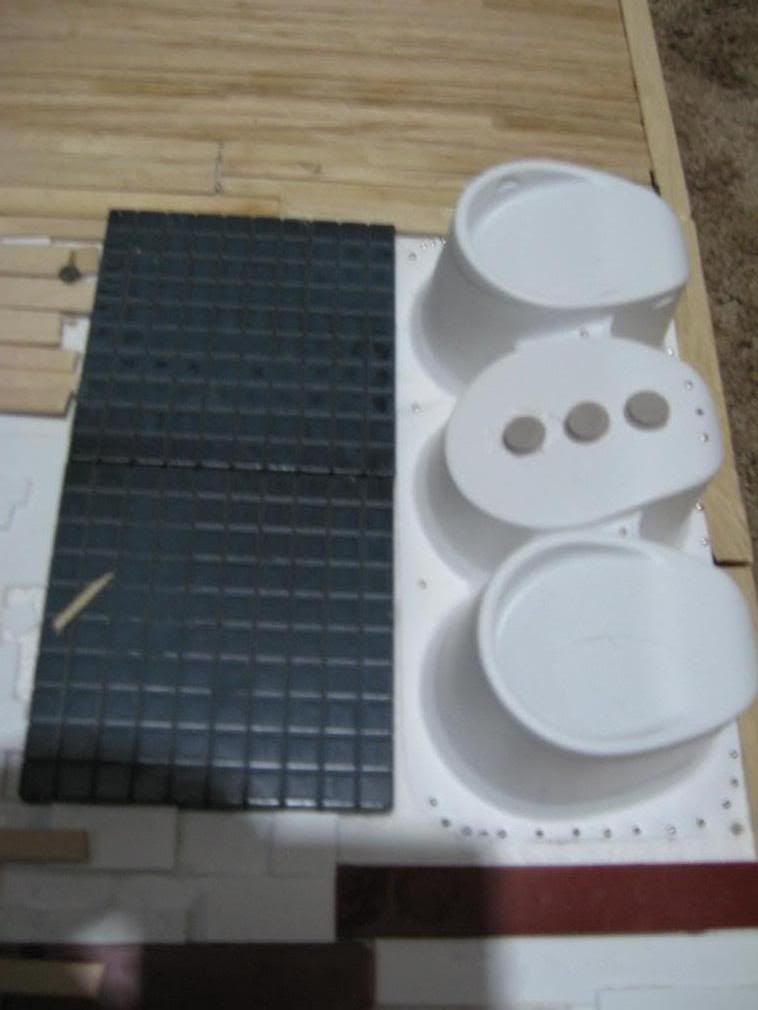
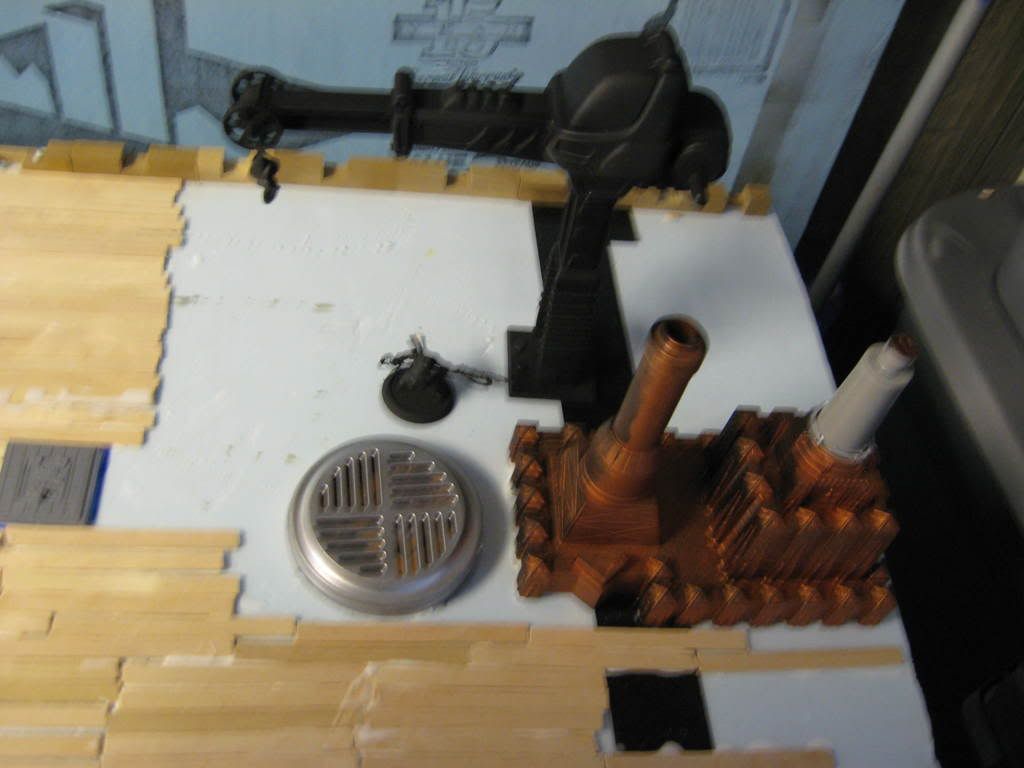
The elevated deck has some decoration on it. I mentioned this stuff before but here's a close up. The "reinforced deck" is supposed to be metal plating. These are plastic LEMAX Ciy Square pieces. The "steam pipe vents" are a single Sugar Free Peeps container turned upside down.
For effect I used push pins to simulate what I hope might look like rivets. I then used some HO scale manhole covers to the center part of the Peeps container to make it look like machinery ... hopefully. It looks better when it's sprayed black and then drybrushed. (I think.)
BROADSIDES BOARD ... POST #7
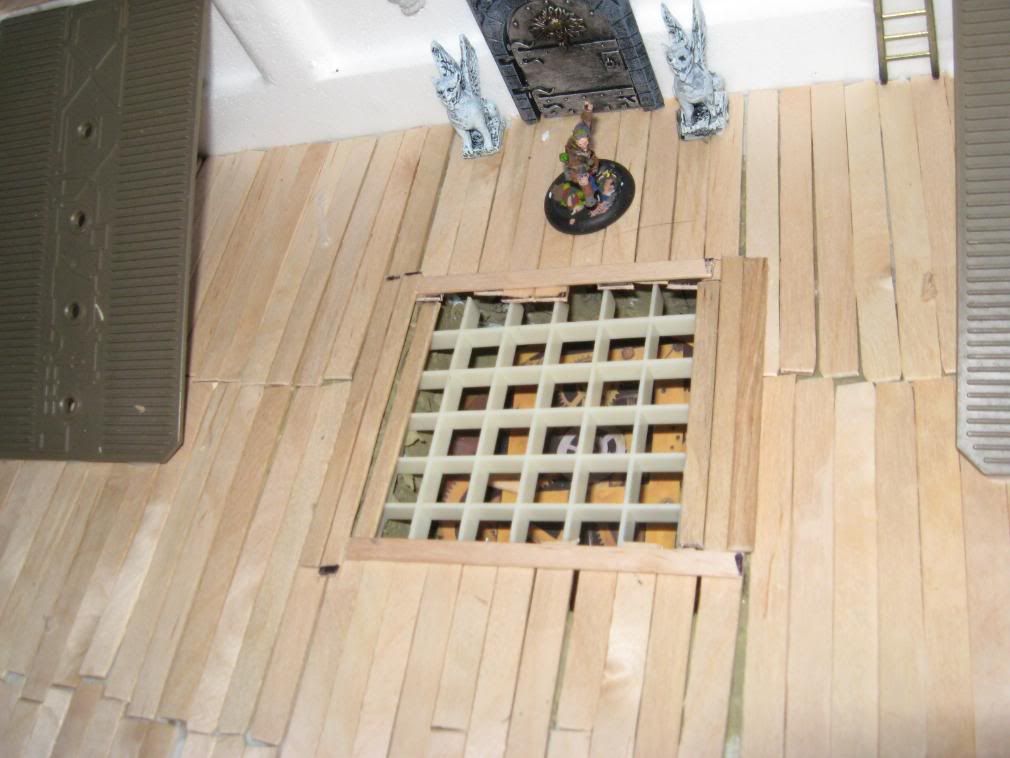
This is a close up of the grating in the deck. I had bought a stick-on clock face that features a series of gears. I stuck that in place under the grating. This turned out to be a huge mistake. In the end, I ended up spray painting the entire ship. When I did this, I ended up having to spray over the sticker. So that little piece of detail is lost forever. And that sucks. Poor planning on my part. Anyway, the grate is made from thick styrene meant to cover ceiling lights. You've seen hese gratings in several places. The gargoyles are made by Lemax and I bought them at the Indiana, PA Michaels the day after Halloween. They were 75% off original price. And the door is from a Mage Knight Dungeons set. I bought these a long time ago at 50% off at a comic book store. The ramps that lead from the main deck to the elevated deck are from an old toy. I don't even remember the name of the toy line.
BROADSIDES BOARD ... POST #6
At this point in the project, I found out that Broken Coast Raids was being moved up to June rather than going down in September. I knew that there was no way we were going to pull off a Broken Coast Themed event in June, so I gave up for a little while. I almost chucked the entire project. However, I decided to give it another go about a week later. My main problem was figuring out how to plank the sides of the ship without having to do the thing where you wet balsa wood and then bend it. I know I don't have the skill or the patience to do that!
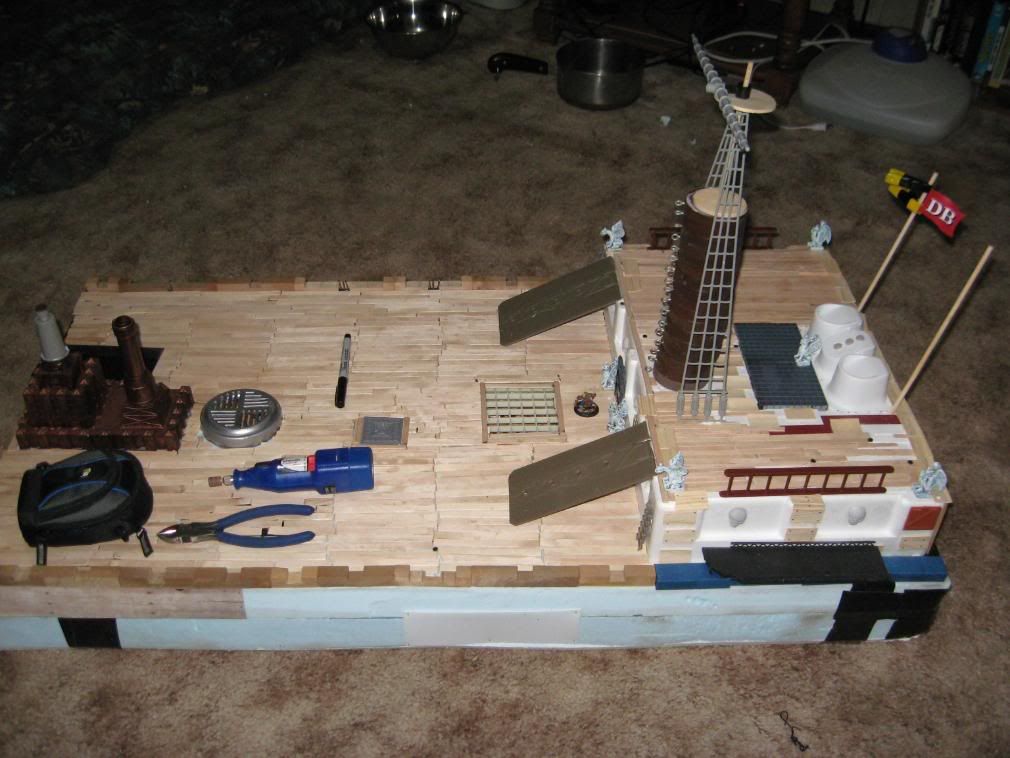
As you can see, I had made some decent progress by this point. It almost is starting to look like a ship, or rather a section of a ship. Never meant to be the whole ship, as you know. Just a part of it. Anyway, I finished planking the entire deck in a flurry of activity one Sunday.
New additions included:
- Flags. I used think dowel rods shoved directly into the foam. The flags are plastic flags stolen from a Spiderman Daily Bugle Lego set.
- Rear Vents: This series of three vents is simply a Sugar-Free Peeps container turned upside down and glued in place.
- Reinforced Metal Grating on Deck: These are Lemax Plaza sections which come in squares. I glued a few of them into place and will paint them to simulate metal sheets.
- Side Railing on Elevated deck: These are plastic toy ladders turned on end and glued into place. They look okay.
- Gargoyles: These are LEMAX Halloween Graveyard Gargoyles. Nice decorations for eye candy.
- The Mast: This is several of the aforementioned wooden shower curtain hooks glued in place. I them ran another thin dowel rod down through the center of them. I then cut a hole in a 1" diameter wooden circle sign from Michaels Craft Store to act as a makeshift crows nest platform.
- The Rigging: It's plastic rigging from the Pirates of the Caribbean Deluxe Black Pearl set.
- The Mast Boom is also from the Black Pearl set.
- I added a hatch in the center of the deck. This is a Warhammer 40k Cities of Death building piece that has a hatch built into it.
- I added walkways on the sides of the ship, and these are again pieces from the 40k Cities of Death building sets.
More to come!
6/25/08
BROADSIDES BOARD -- POST #4
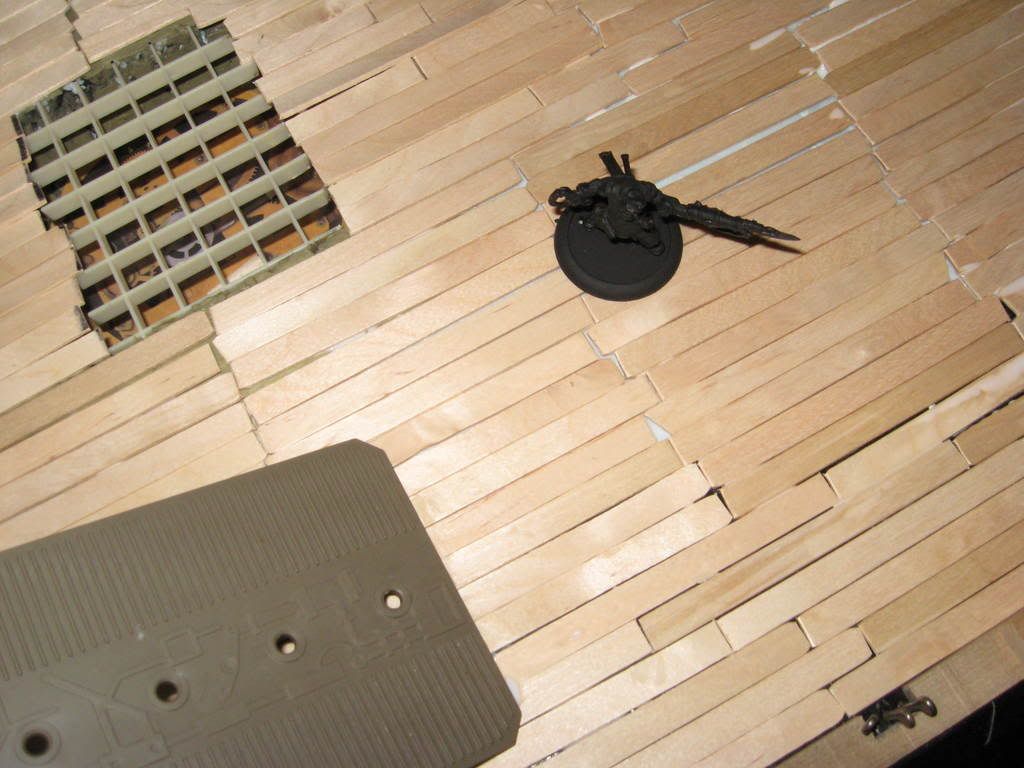
The project continued. Now came the tedious task of using glue to affix "wood planks" to the deck. I tried to stagger the sticks in length, and cut them at odd angles sometimes to give the planks a realisitc look.

I added a white foam container to serve as an elevated part of the ship's deck. Here I placed three wooden shower curtain rings that I bought at Goodwill awhile back. I started to glue them down three at a time using Elmer's Glue All. I found out the hard way that surface tension and the expanding glue didn't allow me to stack more than three at a time unless I wanted the rings sliding apart and ending up all crooked.
Then I cut out a small area in the top of the main deck in order to add a cargo space. I used styrene grating that I bought awhile back.
I placed a lid from an air freshener (painted silver) on the foamboard of the deck to simulate a steam vent. I then planked around the "vent" with my wooden planking. I also glued the "steam engine" into place and started to plank around it as well.
BROADSIDES BOARD --- POST #3
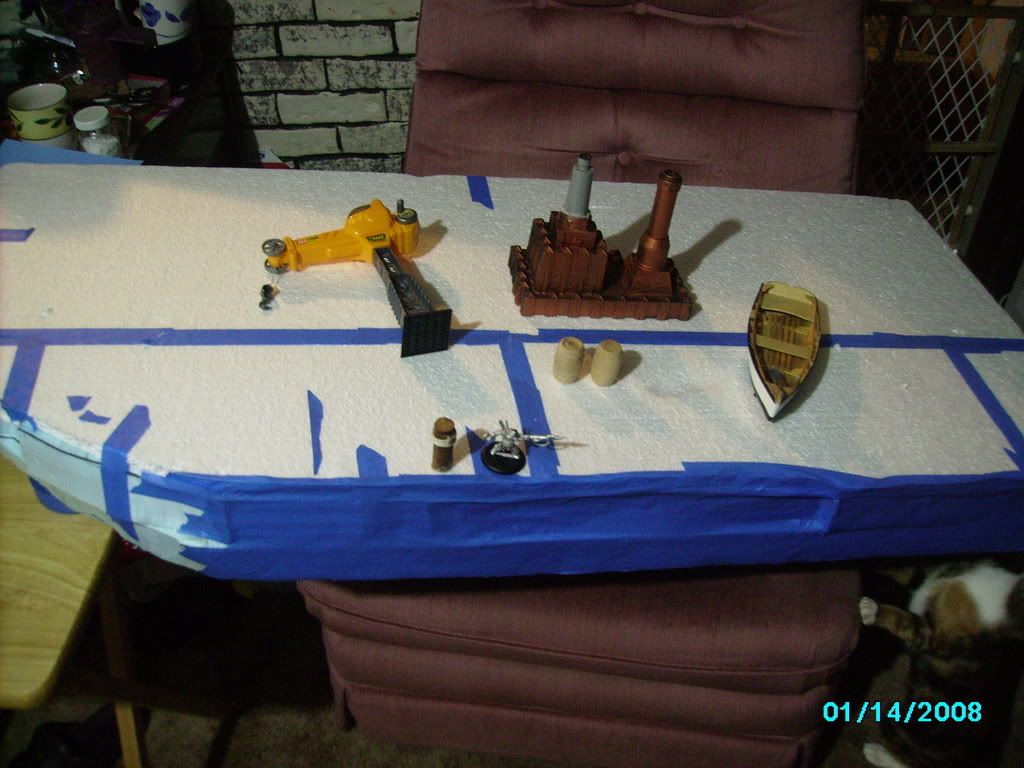
The next step was to start working on the hull and figure out ways to make it start looking like a section of a pirate ship. I glued the sections of blue and white foam board together using Elmer's White Glue All. Then I used painter's tape and wrapped the entire thing together to hold it in place and allow it to dry. I then started to smooth out the rougher places of the hull by adding tape to the sides.
You can see a few of the odds and ends I had laying on the hull at the time I took the picture. There is a small post from one of my docks, a toy crane, a superman toy which will serve as a twin steam engine and smoke stack. A rescue boat. A couple of pickle barrels. And Bosun Grogspar.
If you look at the bottom right corner you will notice my cat ("Monkey") who is "helping" me to build the hull.
6/24/08
THE BROADSIDES BOARD -- Post #2
THE BROADSIDES BOARD -- Post #1
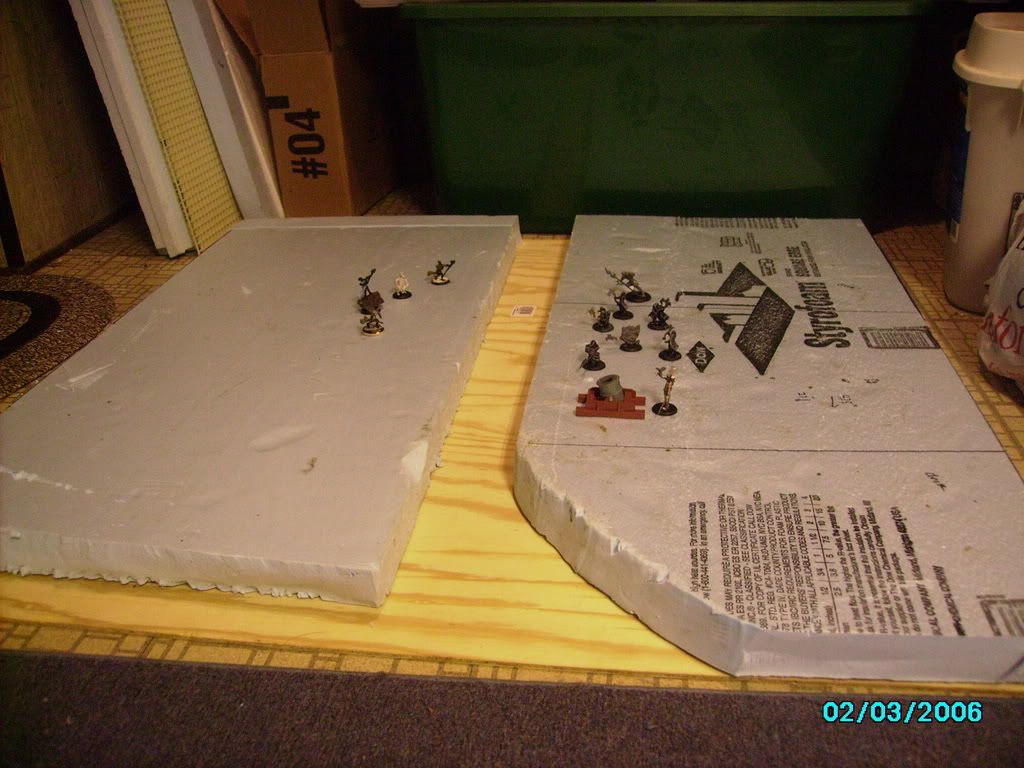
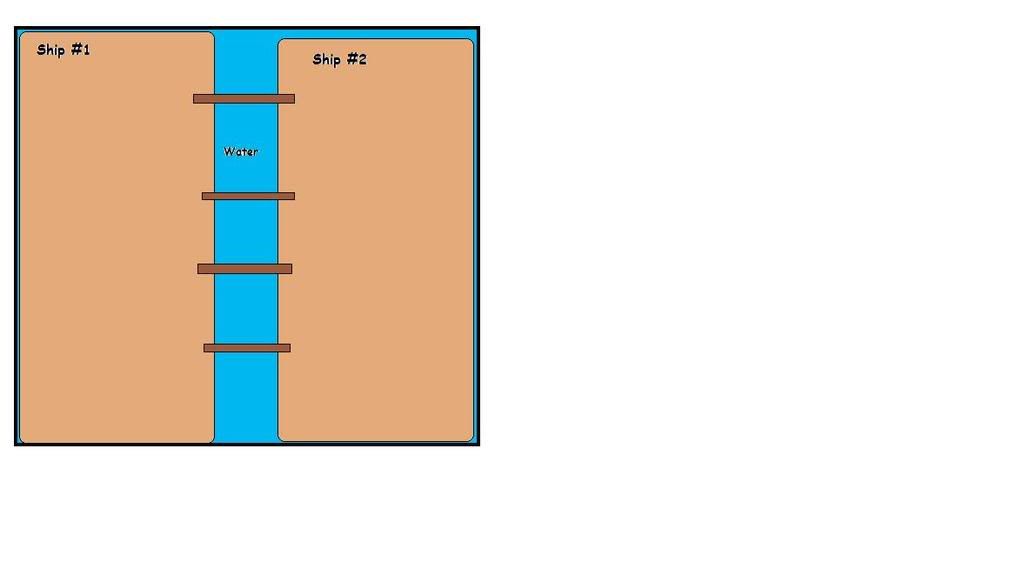
When I heard that Privateer Press was planning to release a book called "Pirates of the Broken Coast" I started to plan out a game board that would simulate a ship to ship boarding action. I had the idea to take a 4x4 board and imagine it as being completely water. Then I could take two pieces of foam board and make two large sections of ships that would simulate two ships having completed a broadsides and now would begin the boarding assault.
Broadsides were quite different during older naval warfare, in the age of sail. An 18th century man of war like the HMS Victory had cannons that were only accurate at short range. The penetrating power of naval guns was mediocre; which meant that the thick hull of a well-built wooden ship could only be pierced at short ranges. These wooden ships sailed closer and closer towards each other until cannon fire would be effective. Each tried to be the first to fire a broadside, often giving one side a decisive headstart in the battle when it crippled the other ship.
Boarding, in its simplest sense, refers to the insertion onto a ship's deck of people. However, when it is classified as an attack, in most contexts, it refers to the insertion of personnel that are not members of the crew by another party. Boarding may be carried out during wartime by naval infantry in an attempt to seize and possibly destroy the vessel, or it may occur in peacetime by pirates and other criminals, or as a means of inspection by a nation's coast guard (or navy) to prevent piracy and smuggling.
Boarding is used in wartime as a way to seize a vessel without destroying it, or to remove its cargo (people or goods) before it is destroyed. It can also be used to aid in the collection of naval intelligence, as soldiers boarding a sinking, crippled, or surrendered vessel could possibly recover enemy plans, cipher codebooks or machines. For a boarding to be successful, it must occur without the knowledge of the crew of the defending ship, or the ship's defenses must be suppressed.
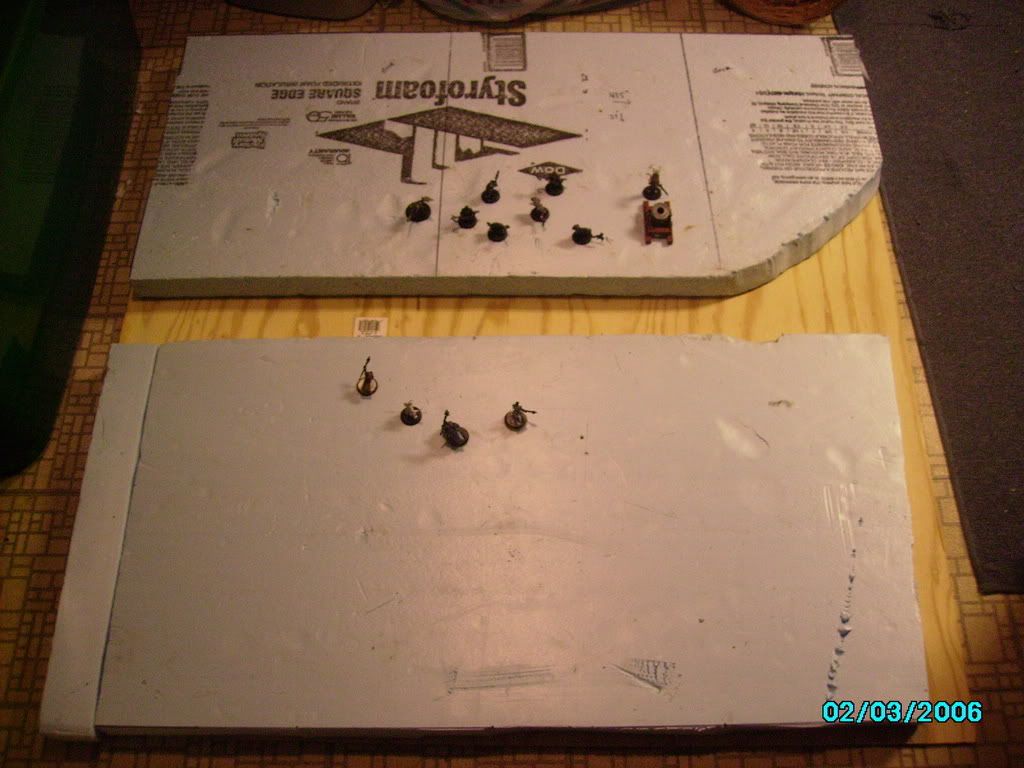
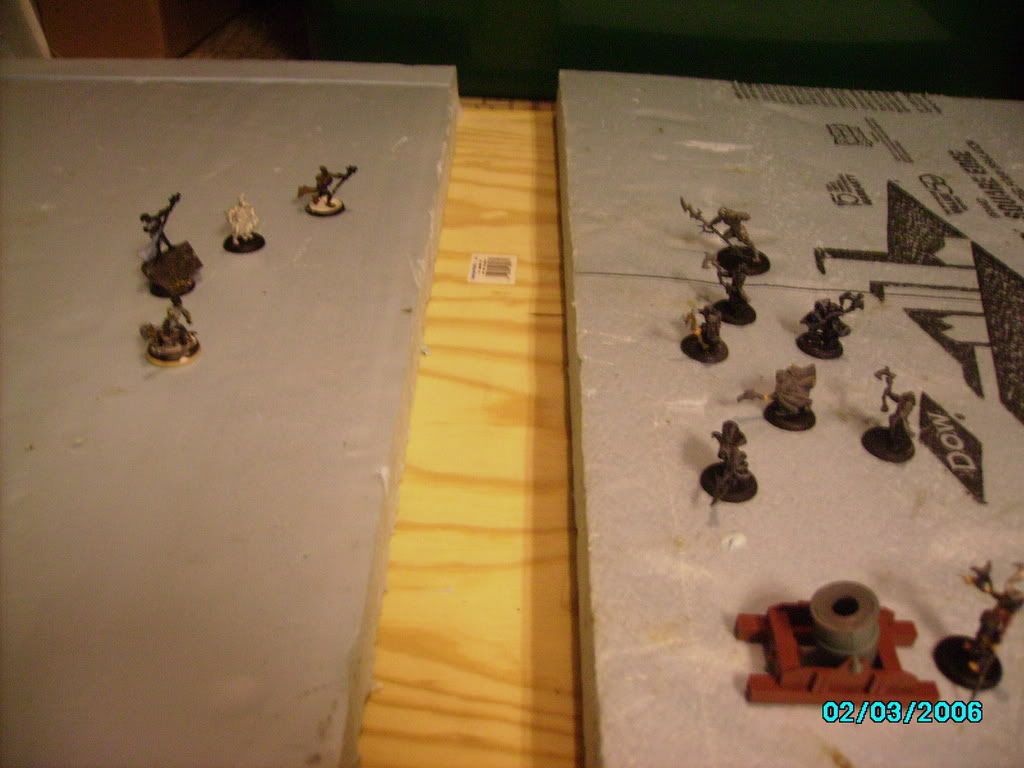
So you can see in the picture above that I have a piece of 4x4 plywood from Lowes and two sections of blue insullation foam board cut to size to represent sections of large ships. There will be a section of Deep Water between both ships. I will make boarding planks and cranes to allow from movement from ship to ship. Hopefully it will be cool when it is all finally finished.
Subscribe to:
Posts (Atom)